nice big nipples and big big boobs and pussy videos indiansexmovies.mobi filho da puta vou comer seu cu arrombado do caralho babe porn indian desi actress short and hot nude bold photos

Choose the Right Features for Your Custom Kitchen Cabinet

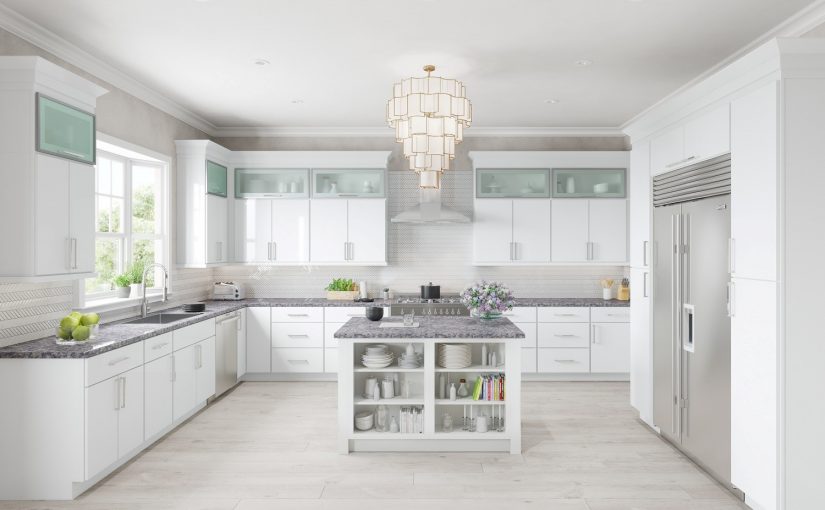
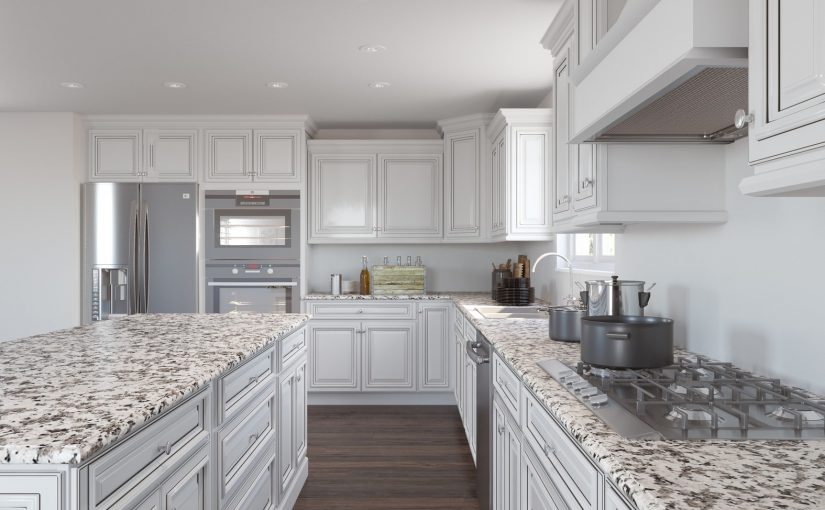
Cabinetry is an essential part of your kitchen. With the variety of design options, features and materials now available, it’s easy to build custom kitchen cabinets that are highly functional, aesthetically pleasing and tailored to your style and needs.

Below are a few popular features to consider including when designing your custom kitchen cabinets.

  1. Corner Cabinets with Lazy Susan Turntables

The corner area where two cabinet ends meet often creates an ineffective space that’s inconvenient to use and access. Avoid this hassle by installing corner cabinets with Lazy Susan turntables. You’ll be so glad you did when you can easily access items and get better use out of this space.

  1. Filler Pullout Organizers

If your kitchen has one or more extra-narrow spaces, you can make use of the space by getting a filler pullout organizer. This will create a mini pullout pantry, turning what was once an awkward, unusable space into a practical one that you’ll use every day.

  1. Self-Closing Doors and Drawers

Self-closing cabinet doors and drawers close gently and quietly with only a simple, quick push. If you have cabinets that you have to shove to get closed and that make a loud bang every time they’re closed, you’ll want to look into this option.

  1. Special Purpose Drawers

Cabinet drawers are designed for so many different purposes that it’s easy to find a drawer that was especially created for something you need. For example, if you don’t like to keep your microwave on your countertop or above your stove, you can have an under-the-cabinet microwave drawer installed.

Pullout waste containers store your garbage container in your cabinets, rather than on your floor. This saves valuable floor space, keeps the kitchen less cluttered and keeps your garbage concealed, which is a huge bonus!
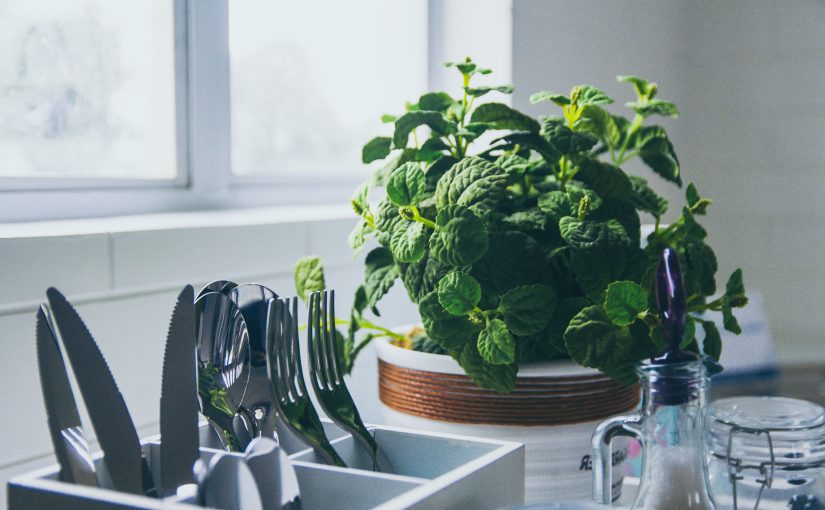
  1. Drawer Dividers

Internal drawer dividers, such as a cutlery tray or a spice tray, are lifesavers! They are a simple and inexpensive way to get items in your kitchen drawers organized—and easily keep them that way.

  1. Utility Cabinets

Full height utility cabinets are ideal for storing away mops and brooms in a neat, organized way without taking away from the aesthetics of your kitchen. Plus, since they’ll be within arm’s reach always, it will be super easy to do quick kitchen clean ups whenever you need.

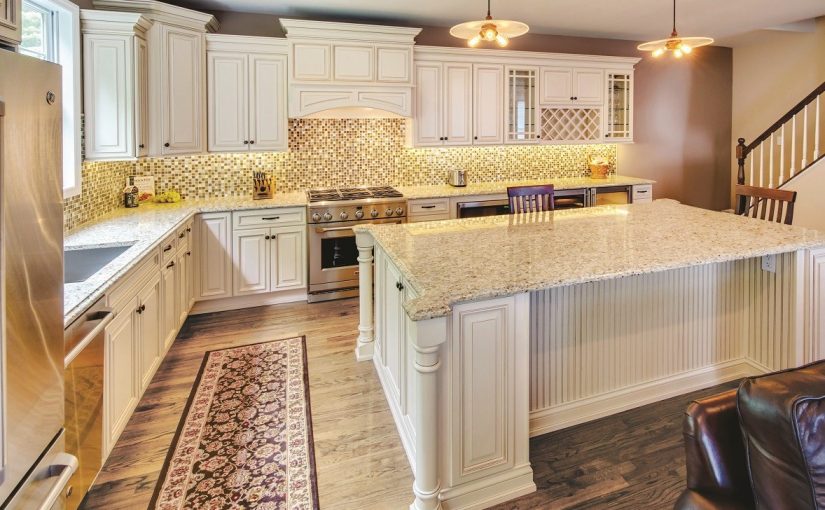
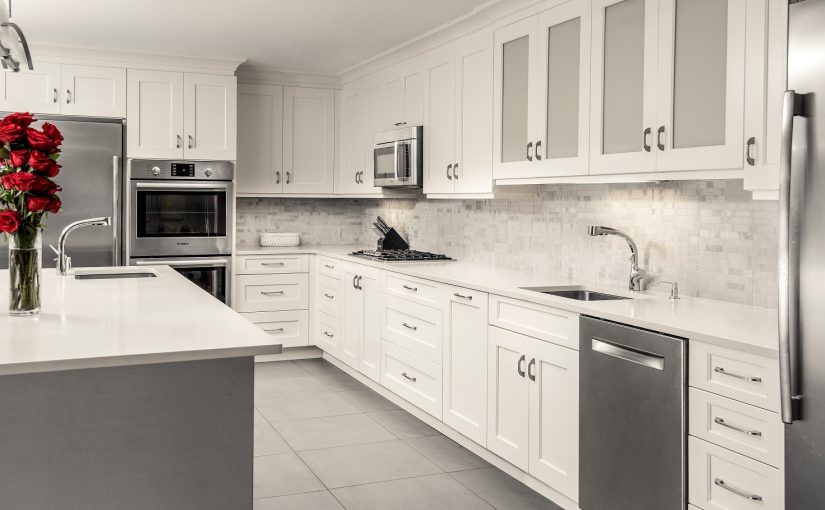
You’ll notice that many of the above features, such as drawer dividers and Lazy Susans, work to increase storage and create an accessible kitchen design. When designing your custom kitchen cabinets, select the features that most appeal to you, that you most need and that you’ll get the most use out of, and you’ll end up with functional, stylish cabinets that you’ll love for years to come.


Ideas for Custom Kitchen Islands

Kitchen islands are becoming a staple in more and more kitchens because they take care of so many practical needs, while also adding a stylish element to the room. If you’re looking into installing an island in your kitchen or updating an existing one, you’ll find numerous options for kitchen island designs.

To ensure you end up with the island of your dreams, we highly encourage you to consider how you use your kitchen and keep that as your focal point. This will help you determine which specific functions the island will handle and then you can go about customizing it to suit your personal style and most important needs. Let’s take a look at a few popular island designs and ideas.

  1. Custom Cabinets

Cabinets are an excellent way to store kitchen equipment and other items, while keeping them out of sight behind closed doors. Design an island with custom cabinets that will best store the items you want to keep in your island for convenient access, such as pots and pans, bakeware and appliances.

  1. Cook Station

If you plan on doing a lot of actual cooking at your island, you’ll want to include a cooktop and, ideally, a large butcher block, a prep sink and a pullout waste container.

Depending on how many spices you use in your cooking, you may also want to add built-in shallow shelves specifically designed for storing spice jars, so you’ll always have them within easy reach.

  1. Unconventional Shape

While most of us envision a rectangular or square shape when thinking about kitchen islands, keep an open mind when looking at different design options – especially if your kitchen has a unique layout that may not be conducive to a more traditionally shaped island. L-shaped islands are increasing in popularity and bean-shaped islands are a fun alternative, too.

  1. Waterfall Edge Countertop

A waterfall edge countertop – where the countertop extends vertically down the sides of the island – provides a sleek, dramatic look, creating a focal point that constantly draws the eye to the center of the kitchen.

Providing strong, clean lines, a waterfall edge is ideal for contemporary kitchens. Islands with a waterfall counter down one end will create a strong 90-degree angle, while a waterfall edge down both sides of the island creates appealing symmetry.

  1. Open Shelves

Often, the spaces at the ends of islands are overlooked. Be sure to keep this space in mind when customizing your kitchen island so that you can best utilize every aspect of your island. These end spaces can be used to display items you use often, such as coffee mugs and favorite cookbooks, or to add thoughtful, welcoming décor like framed photos or artwork.

  1. Double Up

While installing two islands will certainly not be practical for every kitchen, if you do have the space and the budget, it can be an excellent option. By having two medium-sized islands instead of one larger one, you’ll cut down on unused space in the middle of the kitchen. Also, with the path that’s created between two islands, you’ll be able to move about your kitchen more easily.

A substantial benefit to this set-up is being able to create more efficient work zones. For example, one island can be dedicated to meal prep and/or cooking, while the other can be used for eating meals and snacks, working and, if you have kids, doing homework.

Find creative inspiration from these ideas for custom kitchen islands and tailor them to create an island that will be functional and stylish, while fostering connection with family and friends and bringing you joy and ease when cooking.

How to Design a Coastal Kitchen the Right Way

There’s a reason coastal kitchens are appealing to many homeowners, whether they live along the coast or not. The light hues, ample lighting and fun beach or maritime décor add a bright and airy beauty to a kitchen that’s hard not to love.

If you love the serene, relaxed look of coastal kitchens, you can easily bring this style into your own kitchen, whether you live at the beach, in the country or in the city. Follow our tips below for designing a coastal kitchen the right way and your kitchen will have the coastal vibe you dream about all year long!

#1: All-White Cabinetry

One of the best ways to recreate the light, breezy and calm look and feel of the seashore in your kitchen is to begin with all-white kitchen cabinets. Any style of white cabinets will work, however the simplicity that white shaker cabinets provide is ideal.

Not excited about having all-white cabinetry? Not to worry! Even though all-white cabinets are commonly used when designing coastal kitchens, you can opt for a two-toned look. For a contemporary style, consider going with all-white upper cabinets paired with light wood or light painted cabinets for the base or island cabinets. You’ll just want to avoid using any dark colors to keep the atmosphere bright.

#2: Blue and White Elements

 One of best ways to incorporate the hues of the ocean is to include various shades of blue in your design. There are several great ways this can be done, so this is the perfect place to use your creativity and show off your personal style.

From blue and white checkerboard ceilings and white tile floors with pops of blue designs, to sparkling blue backsplashes and blue light fixtures, you’ll love all of the fun ways you can add beautiful ocean shades into your kitchen! Of course, if you prefer to not have so much blue, play around with different accent colors to use in addition to blue, such as pale, sandy yellows and sea greens.

#3: Ample Lighting

Let’s face it. A dark coastal kitchen wouldn’t be visually appealing, nor would it have an authentic coastal vibe. For this reason, regardless of how you choose to design your coastal kitchen, getting the lighting right will be key in getting the look and feel you desire.

This means the lighting needs to be bright. Natural lighting is always ideal and, if you have – or can install – tall windows and/or a skylight, you’ll get plenty of natural light coming in to brighten up your kitchen.

However, if you don’t have many windows or don’t get much natural lighting in your kitchen, you can create ample lighting with a combination of task, accent and ambient lighting.

Now that you’re familiar with these main characteristics of coastal kitchens, you’ll be able to create a truly beautiful coastal look – and add your own creative twists to the design!

Kitchen Design Tips – Can You Style White Cabinets with White Appliances?

White has been a kitchen design staple for many decades and continues to draw people in with its crisp, clean look. If you’re one of the many people who’ve fallen head over heels with white kitchens, you’re probably asking one of the most popular questions that are asked when it comes to this kitchen color: Can you style white cabinets with white appliances?

The answer is, as with many things, it depends. There are pros and cons to designing a kitchen with white cabinets and white appliances, so we’ll take a look at both sides. Once you’re equipped with knowledge about the potential benefits and downfalls of this look, you’ll be able to make the decision that best meets your personal style preferences and that’s most suitable for your home.

Pros and Cons to Combining White Cabinets with White Appliances

White cabinets create a unified, clean look, whether styled with white countertops and appliances or with other colors incorporated into the overall design.

When white cabinets are paired with white appliances, there are many positive results, including creating:

  • A Timeless, Classic Look – With the right styling, white cabinets and white appliances create a timeless look in a variety of homes, from modern and country style homes to cottage and vintage ones.
  • A Brighter, More Spacious Looking Kitchen – White naturally makes a space feel lighter, brighter and more spacious and, when you use white cabinets with white appliances, they will appear to blend or flow into one another with no distinct lines. This is an especially fantastic styling choice for small kitchens or kitchens that don’t get a lot of natural light.
  • Versatility – White goes with anything, which gives you a lot more options with tiles and décor choices than most other colors offer. It’s also an ideal backdrop for other light neutrals, as well as splashes of bolder colors.

Some negative aspects of an all-white look in the kitchen include:

  • Shows Aging More Quickly – No matter what type of material, white tends to show its age more quickly, with signs of wear and tear being more visible on white than it is on other colors.
  • Needs Regular Maintenance – A white kitchen needs regular maintenance since white shows dirt easily and, as mentioned above, shows signs of aging more than other colors. White cabinets also quickly reveal smudges, scratches and splashes from cooking.
  • Can Be Plain and Cold – Too much white can appear plain, unexciting and even a bit cold. While plenty of people absolutely love this look, it may not work for you if you’re set on creating a warm, welcoming and cozy kitchen. If you love an all-white look but want to add some warmth, consider adding timber flooring or furniture—incorporating plants and flowers in your décor can also help.

Other Appliance Colors to Consider with White Cabinets

If you have white cabinets or are planning to get white cabinets but aren’t sold on white appliances, there are plenty of other appliance color options that will look beautiful. Subtle colors such as off white, taupe, gray and black all work well against white cabinets, as do bolder, fun colors like turquoise, sage, yellow and red.

What to Consider for Your Kitchen Lighting and Cabinetry During a Redesign

Lighting is essential to any kitchen design and, as the busiest room in most homes, it’s important to illuminate the space properly. This includes a well-planned overall kitchen lighting scheme for the entire room, as well as for the cabinetry. Before you get started on your kitchen redesign, we’re sharing inspiring lighting ideas that will ensure you illuminate your kitchen and cabinets in style.

Kitchen Lighting Ideas

The lighting in your kitchen should be just as versatile as the room itself. Take a look at these ideas for your kitchen lights:

  • Pendant Lighting: Add character to your space with pendant kitchen lights. Not only versatile, they come in a variety of styles, from simply functional to stunningly chic. The most popular place for pendant lighting is above kitchen islands and work stations.
  • Chandelier Lighting: If you’re looking for a little extravagance and want to add luxury to your kitchen, chandelier lighting will add a little magnetism, allure and character to the room. Having guests over? Talk about a conversation piece!
  • Suspended Track Lighting: Illuminate the entire space while seamlessly bringing the décor of the room together. Suspended track lighting is very customizable as it allows you to place direct lighting where you need it. It is available in numerous styles – have fun with it!
  • Recessed Lighting: Practicality at its best… recessed lighting can light the entire kitchen or specific areas, without detracting from the design. It’s simple and understated, but it gets the job done.

Kitchen Cabinet Lighting Ideas

We’ve all been there before – working in a kitchen and the counter’s just a little too dark. First thing you do is look for the light switch to turn on the cabinet lighting. Why? It’s perfect for task lighting. Try these kitchen cabinet light ideas:

  • Kitchen Under-Cabinet Lighting: Under-cabinet kitchen lighting is excellent to not only brighten up dark spaces but to give your workspace a little extra lighting boost – without creating shadows. It also adds ambiance and personality to your space. Different options include puck lights, tapelights, rope lights and light strips, among others.
  • Inside Kitchen Cabinet Lighting: Bring life to your cabinets—not to mention, locate that lost bottle of mustard you know is in there… somewhere. Whether you have deep cabinets, oddly shaped cabinets or you just want to shed a little light on the inside of your cupboards, the following are your best bets: puck lights, fluorescents, light strips, hardwired, plug in, rope or tape lights. Another option is to go for battery-operated lighting.

Effective Kitchen Lighting is Essential

The hub of your home is nothing without proper illumination to spotlight its sophisticated design. While your kitchen is the space everyone seems to gather around, it is also the most multifunctional room in your home. Since the kitchen is such a versatile space, having different lighting options throughout the room allows for easy transition – from food prep and cooking, helping your kids with homework, to dining and most importantly, having an after-dinner conversational area.

Whether you’re cooking, cleaning, hanging out with family and friends or relaxing with a cup of coffee, set your beautifully remodeled kitchen apart with unique and customized kitchen lighting – the options are a plenty.

Tips for Donating Your Old Appliances and Cabinets

If you’re in the middle of a kitchen renovation or are planning to renovate soon, you’re most likely getting new appliances and kitchen cabinets. That means you’ll need to figure out what you’re going to do with the old ones. Not sure how to remove these items from your home other than tossing them to the curb? We’re here to tell you there are better (and more environmentally-friendly) ways, such as paying a commercial junk hauler, giving them away or selling them for cash.

However, we’re especially fond of the option to donate them, so we’ve compiled some tips for how to go about donating your old kitchen cabinets and appliances below.

Tips for Donating Old Appliances and Used Cabinets

Wondering where to donate your items? Many church and nonprofit organizations accept old appliances and used cabinets. Check with local churches and religious organizations, as well as charities in your area. The Salvation Army, Goodwill and Habitat for Humanity are good places to start.

While you won’t get quick cash when you donate kitchen appliances, you can get a tax deduction that will typically range from $20 to $250, depending on the condition and quality of the items. And old kitchen cabinets could be valued between $25-$75 each if they’re donated to the Salvation Army.

Be aware, however, that most charities will only take items that are in working condition and clean. Some additionally require that appliances be a certain age. If you don’t know how old your appliances are, check out Appliance411’s date code search feature.

Before selecting the organization to donate your items to, be sure to find out if they will pick the items up at your home or if you’ll need to drop it off at their location. Since having items picked up is much more convenient, it can be a deciding factor if you have more than one organization to choose from.

Finally, be sure to get a donation receipt for tax purposes!

You’ll feel much better when you donate your old appliances and used cabinets, rather than merely throwing them out, knowing someone in need will enjoy and get plenty of use out of these items!

Tips to Manage Your Kitchen Redesign Budget

If you’ll be tackling a kitchen redesign, it’s important to know what your budget is before diving in. Creating—and managing—a budget will ensure you don’t overspend and help you avoid adding on “extras” you’ll regret down the road.
Redesigning your kitchen will go a long way to increasing the overall value of your home. Follow our tips below for creating a budget (and keeping your kitchen remodel costs within that budget) and you’ll have a kitchen you absolutely love without breaking the bank.

#1: Know Your Purpose

In order to set an appropriate budget for your kitchen redesign, you’ll first need to know your end goal for redesigning your kitchen. If you plan on staying in your home for several more years and this project is mostly for your own enjoyment, you’ll want to list out your wants and needs and prioritize those that are of highest importance to you. Items that will have the most impact on your daily use of the kitchen should be top priorities.

On the other hand, if you plan on selling your home in the next few years, consider making upgrades that have universal appeal and are comparable with competitive homes in your neighborhood.

To determine a reasonable budget, many experts suggest spending between 5% and 15% of your home’s valuation for a kitchen remodel. As an example, if your home is valued at $400,000, a budget range to work with for your kitchen redesign would be between $20,000 and $60,000.

#2: Create Money Buckets

Knowing your overall budget is a great start, but it isn’t enough to be able to properly manage costs. You’ll want to further break down that number by allocating a money bucket to each of the many components that your redesign will consist of. This may include kitchen cabinets, countertops, appliances, faucets and plumbing, flooring, lighting and electrical and walls and trim. For every one of these aspects, your budget should include both material costs and labor costs.

#3: Expect Unexpected Expenses

Since it’s highly likely that a few surprises will come your way during the course of your redesign, no matter how well prepared you are, it’s critical to allocate a portion of your budget for unexpected costs. Such costs can include discovering water damage, needing to add more support for flooring or appliances, electrical or plumbing issues and more. This is also where you’ll want to budget for increased dining expenses if you won’t be able to use your kitchen for a certain period of the redesign.

#4: Create a System for Managing Your Budget (and Use It)

Create a system for managing your budget that will work best for you—and be diligent about using it. Whether you manage all of your expenses on your own in a simple spreadsheet or work with a project manager, monitoring your budget regularly and knowing exactly where your money is going will keep you in control of your money and your project outcome.

What to Ask a Designer Before Starting Your Kitchen Redesign

Redesigning your kitchen is an exciting project, but it can easily become an overwhelming and stressful one. Working with a professional kitchen designer can provide numerous benefits. A pro can help you make the best choices based on your lifestyle, budget and style preferences and take much of the stress away from the process.

Before starting your kitchen redesign, you’ll want to ask potential designers a few key questions to ensure the designer you choose to work with has the right background and experience for your project. Here are 5 questions to ask that will help you hire the best designer based on your needs and personality.

#1: What are Your Qualifications?

All kitchen designers aren’t created equal and you’ll want to be sure to find out the specific qualifications of any designer you’re considering working with. Find out how long they’ve been in the industry, what specific experience they have, what certifications they have or courses they’ve taken and what they do to stay current on the latest kitchen design trends and products. Be sure to ask for pictures of their previous work!

#2: How Much Input Will I Have?

Any truly professional kitchen designer will be focused on creating a space that meets your needs. You want to work with someone who takes the time to find out your preferences and desires—and who welcomes and encourages your input, not just at the start of the project but all throughout.

#3: Can You Work Within My Budget?

Be upfront with your designer about your budget. Discuss the ideas you have for your remodel and ask the designer for her honest opinion about whether or not your ideal redesign is feasible based on your budget. By disclosing your budget early on, you’ll allow your designer to achieve the look you want with options for kitchen cabinets, countertops and other items that are within your budget.
You’ll want a designer you can trust and who won’t try to persuade you—or make you feel that you need to—spend more than you’ve budgeted.

#4: Do You Have References?

Find out how many projects similar to yours the designer has done in the past and don’t be afraid to ask for references. The designer should be open and more than happy to provide you with a few references you can contact to find out what they thought about the designer’s work and how it was to work with him.

#5: How Many Options and Ideas Will I Receive and in What Format?

When looking for a designer, you want someone who is open-minded and willing to show you different options. A kitchen remodel is a big endeavor and you want to be comfortable knowing that your designer will happily work with you through every aspect of your design and tailor it until it’s right for you.
At Willow Lane Cabinetry, you’ll find our professional designers are among the best in the industry. Sign up for a free online kitchen design today. You’ll love working with our designers!

Growing Summer Herbs Indoors

Want to start growing summer herbs so you can easily incorporate them into your cooking without having to constantly run to the store? Luckily, you don’t need a huge outdoor herb garden to have fresh-grown herbs on hand in the kitchen whenever you need them.

Follow our tips below for growing and maintaining summer herbs indoors and, before you know it, you’ll be rewarded with herbs that taste extra delicious and smell lovely!

Top Tips for Growing Summer Herbs Indoors

Caring for indoor herbs is pretty low-maintenance, as they mainly need a sufficient amount of light to thrive. Below are some simple tips for growing indoor herbs:

  1. Light is the biggest factor in caring for indoor herbs, so the location you keep them in needs to have an ample amount of sunlight in order for them to flourish. A minimum of 4-6 hours of light a day, depending on the specific herb, is recommended for them to grow successfully.

If you don’t have a window, kitchen countertop or other spot in your home that will provide the amount of sunlight needed, you may need to use shop lights or grow lights for your indoor herbs to thrive.

  1. Don’t water herbs too frequently. Since herbs have minimal nutrient and water requirements, you don’t have to worry about constantly watering them. You’ll want to allow them to dry, but not to the point where they’re dried up. A good rule of thumb is to water your herbs when the soil becomes dry to the touch. In between watering, simply mist the leaves.
  1. Good drainage is important to ensure your herbs don’t get overwatered. A lightweight potting mix will keep the roots of your herbs from sitting in water. Also, a soft-sided container or a clay pot with sufficient drainage will provide even better drainage and allow oxygen into the root.
  1. Snip constantly. You’ll want to snip your herb leaves and use them for cooking regularly to keep them growing and delay flowering. Once they flower and produce seeds, they’re on their way out.
  1. Keep herbs in an area with low humidity or use a fan to circulate the air in your kitchen to prevent powdery mildew from forming on the leaves.

Wondering what herbs to grow? Basil, mint, thyme, rosemary and sage are all versatile herbs that complement an array of summer dishes. Whichever ones you decide to start with, be sure to get into the habit of using them in your cooking and enjoy the delicious flavor they add to your meals!