With spring on the way, you are probably itching to get your home in tip-top shape. Caulking a kitchen sink is an easy and important do-it-yourself (DIY) project that you can tackle in no time at all. Dingy, cracked caulk is not so pretty, and can lead to big trouble in your kitchen.
Caulk helps keep water from seeping beneath the rim of your kitchen sink, and needs to be replaced now and then so it can do its job properly. If the existing caulk around your kitchen sink looks dried out and shriveled, or if you’ve recently installed a new kitchen sink, it’s time to add some fresh caulk to keep the area sealed and dry.
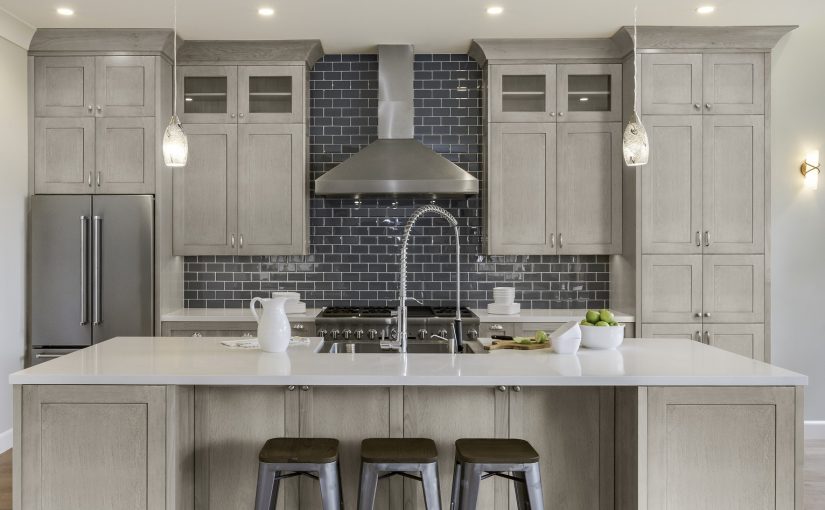
How To Caulk A Kitchen Sink
If you are not sure how to caulk a kitchen sink, follow these steps. Start by making sure your sink is clean and dry. Cut and remove any old caulk from around the rim of your sink using a utility knife.
Next, dampen a rag with rubbing alcohol and wipe away any caulk residue left behind. Before you begin caulking a kitchen sink, make sure the rim and counter area are completely dry. Most caulks are made from latex, silicone, or a combination of both. Latex is easy to apply, while silicone is more durable. Small tubes are great for small jobs, but you will need a caulking gun for larger DIY projects.
- Cut the tip of the caulk to make a small hole equal to the opening around your sink, and insert the tube into the caulking gun.
- Prime the tube by squeezing the trigger until the caulk rises to the tip of the gun. Place the tip along the gap between the rim of your sink and countertop.
- Slowly squeeze the trigger to apply a thin line of caulk all the way around the sink.
Use your index finger to smooth out the caulk and create a watertight seal. Press firmly as you glide your finger around the rim of the sink and counter. Then use a damp rag to wipe up any excess stray caulk for a finished look. Once your caulk is applied, allow it to dry at least 24 hours before using your sink and surrounding countertop.
Now is the time to get your home ready for spring. A beautiful kitchen sink with a fresh coat of caulk is a great first step!
Welcome to Willow Lane Cabinetry — the #1 place to buy affordable, semi-custom cabinets online! Let us help you create the kitchen of your dreams with our 100% free kitchen design tool. We offer all wood, semi-custom kitchen cabinets, fully assembled and delivered for free, with standard features like soft closing doors and drawers, and 6-way adjustable steel hinges. Plus all the accessories you need to complete your new kitchen. We give you more and save you money! Visit our website to see our beautiful products today!